|
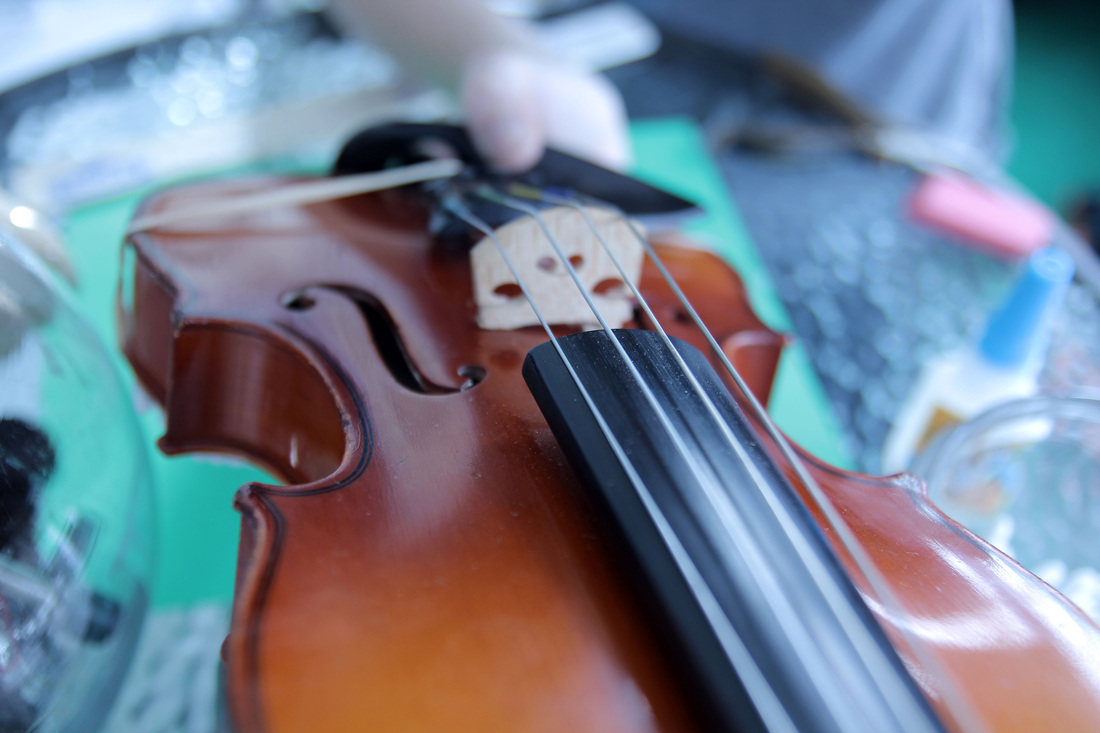
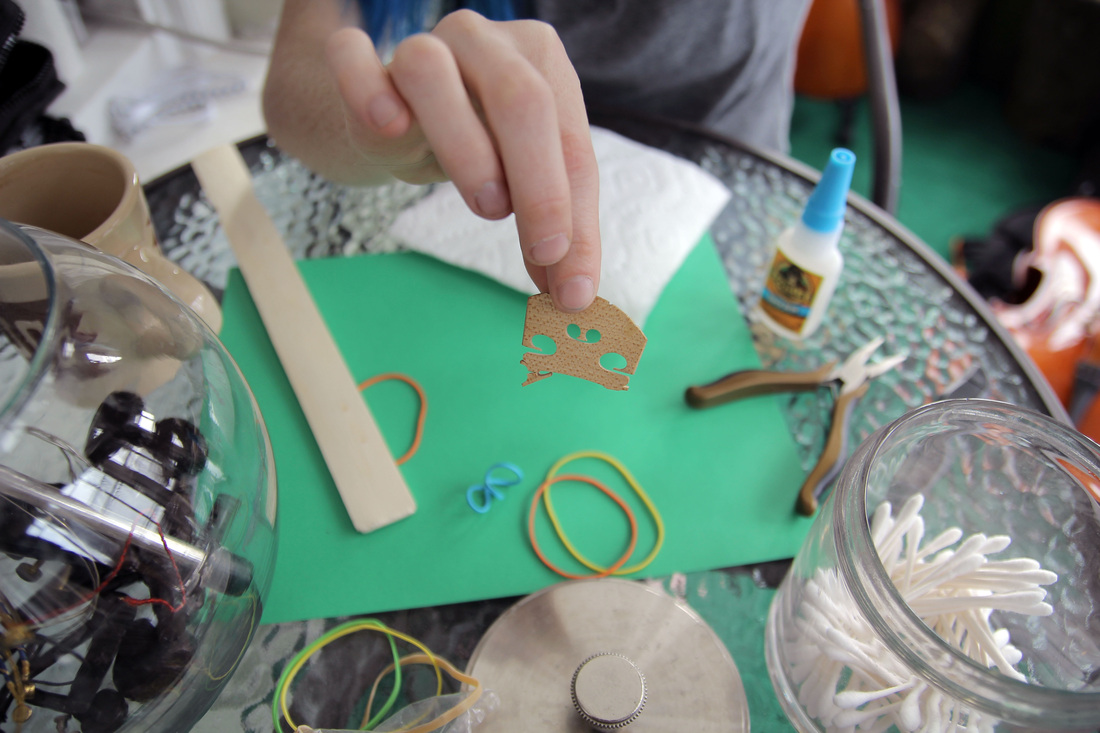
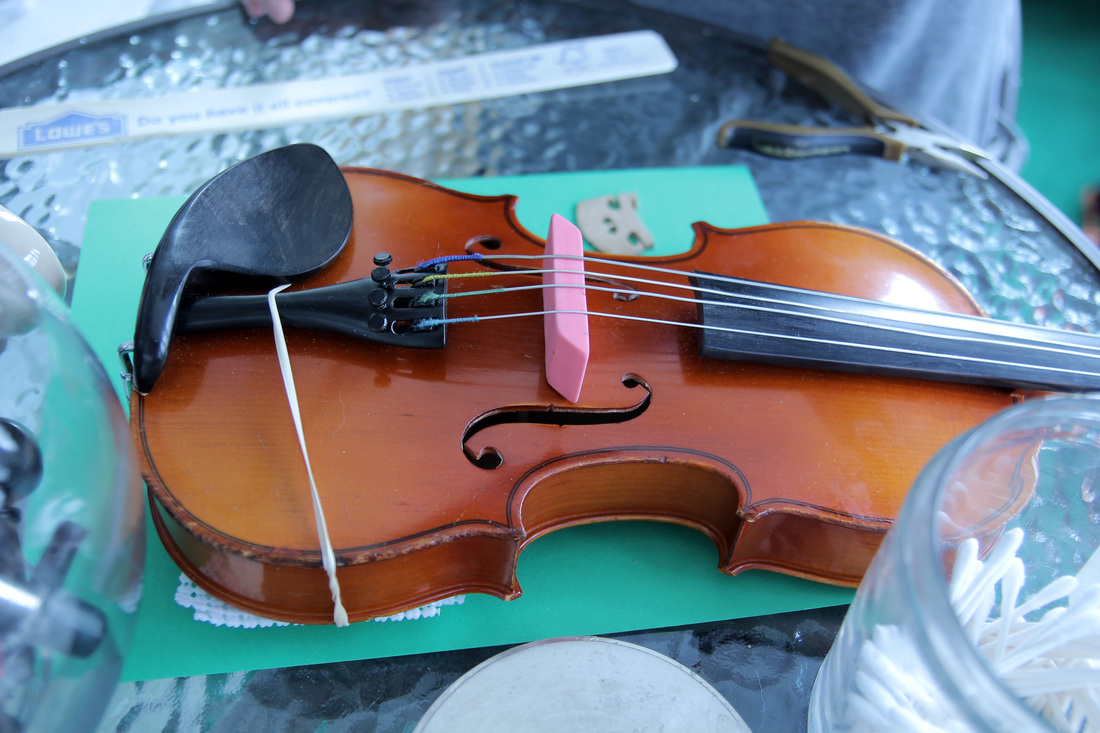
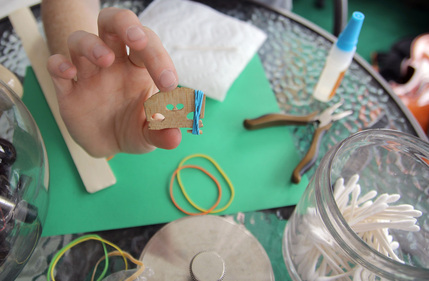
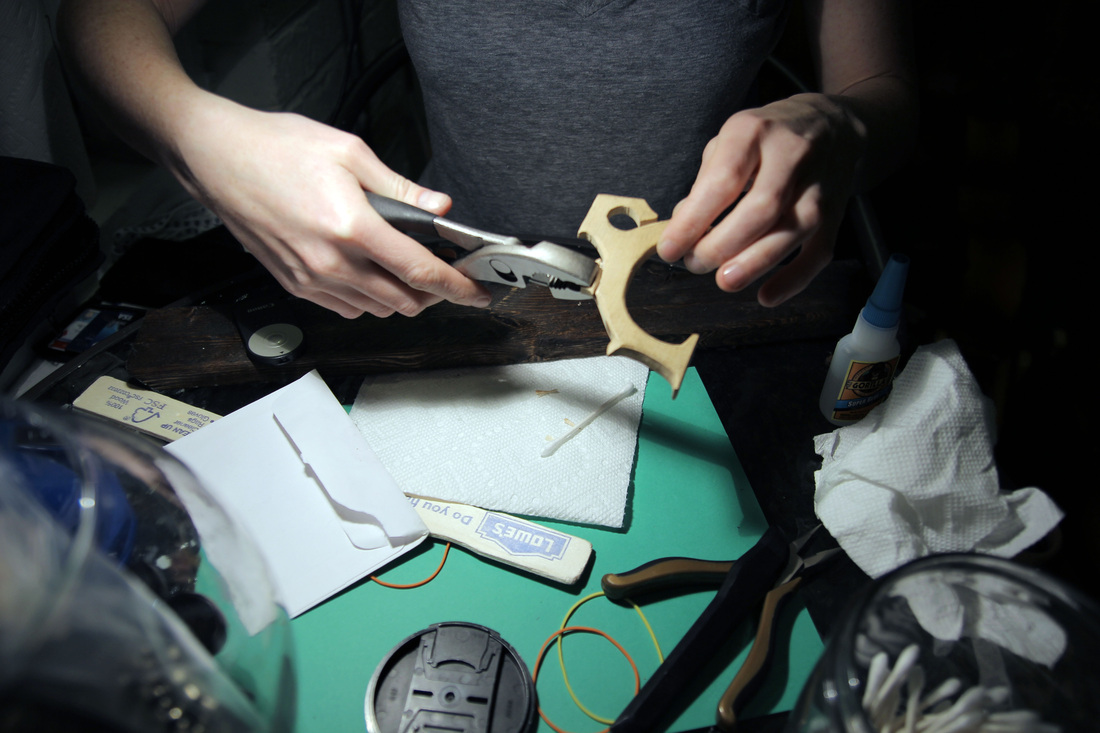
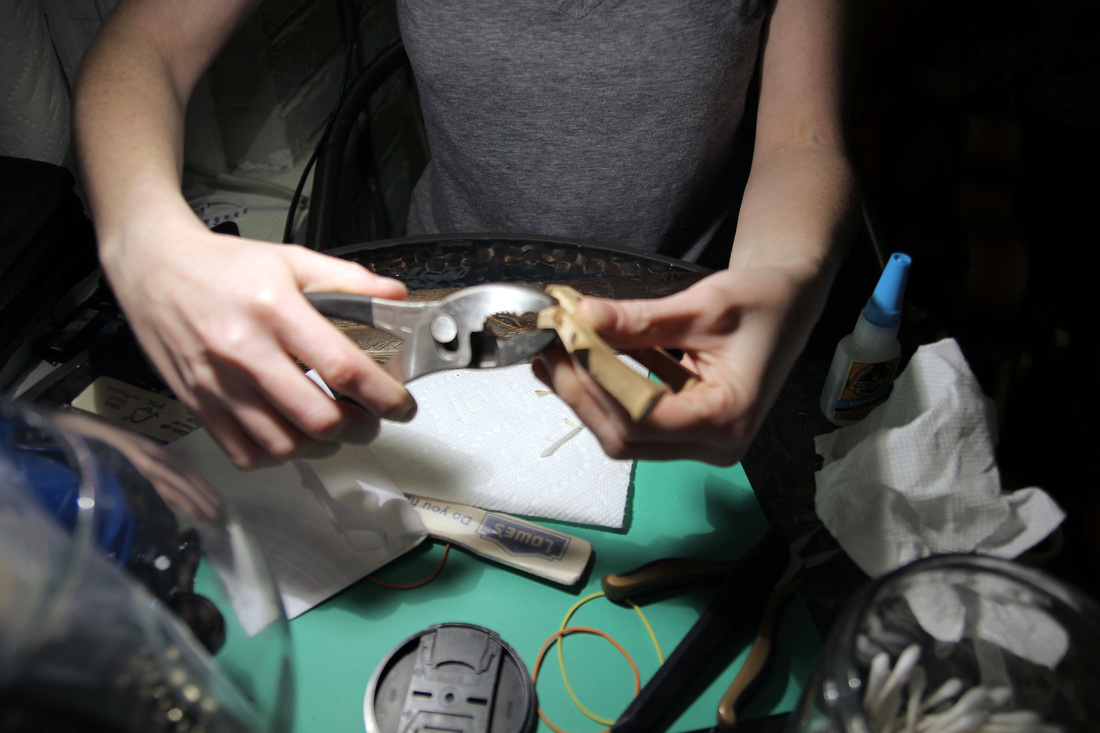
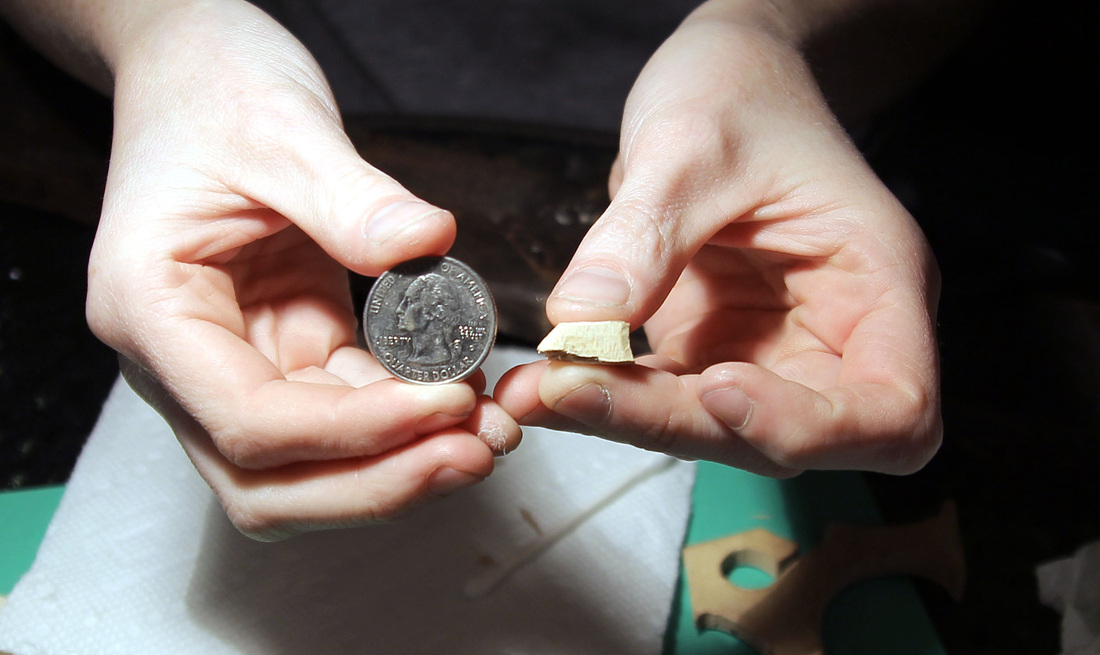
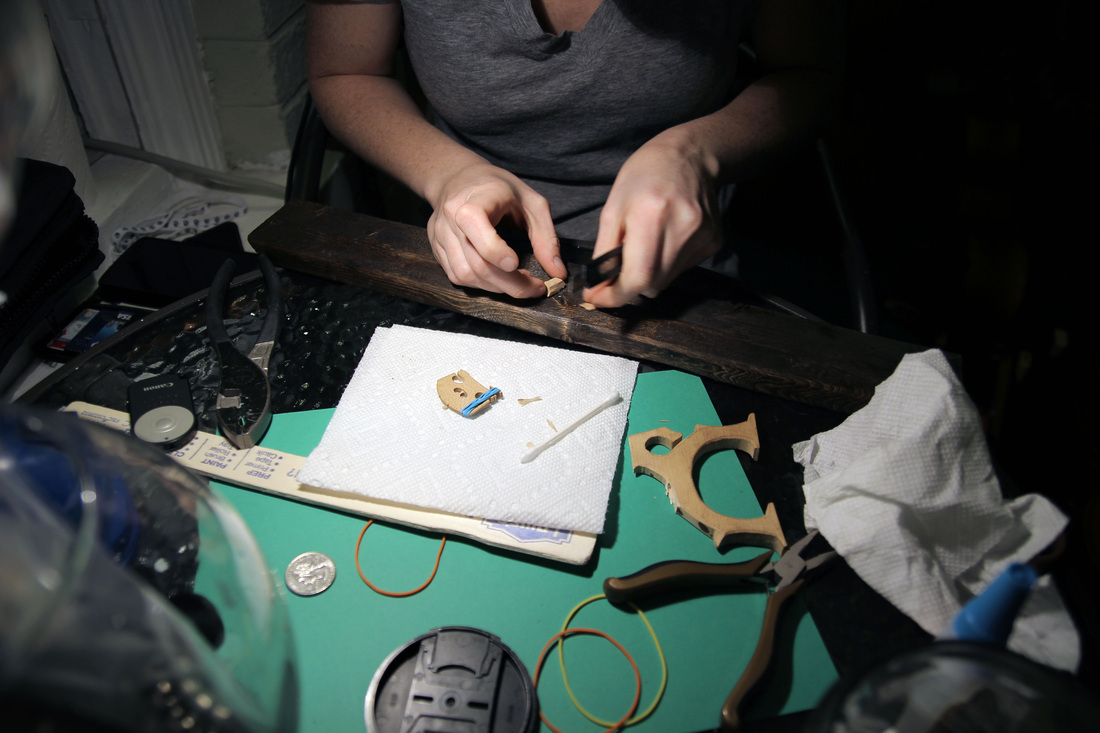
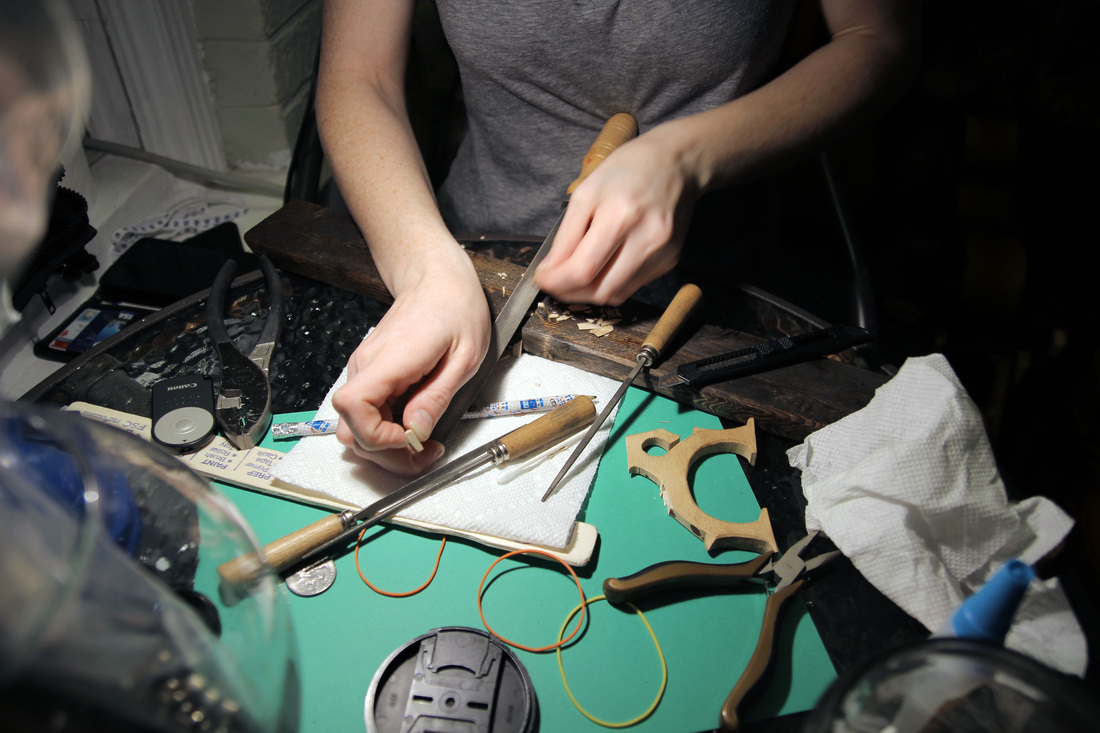
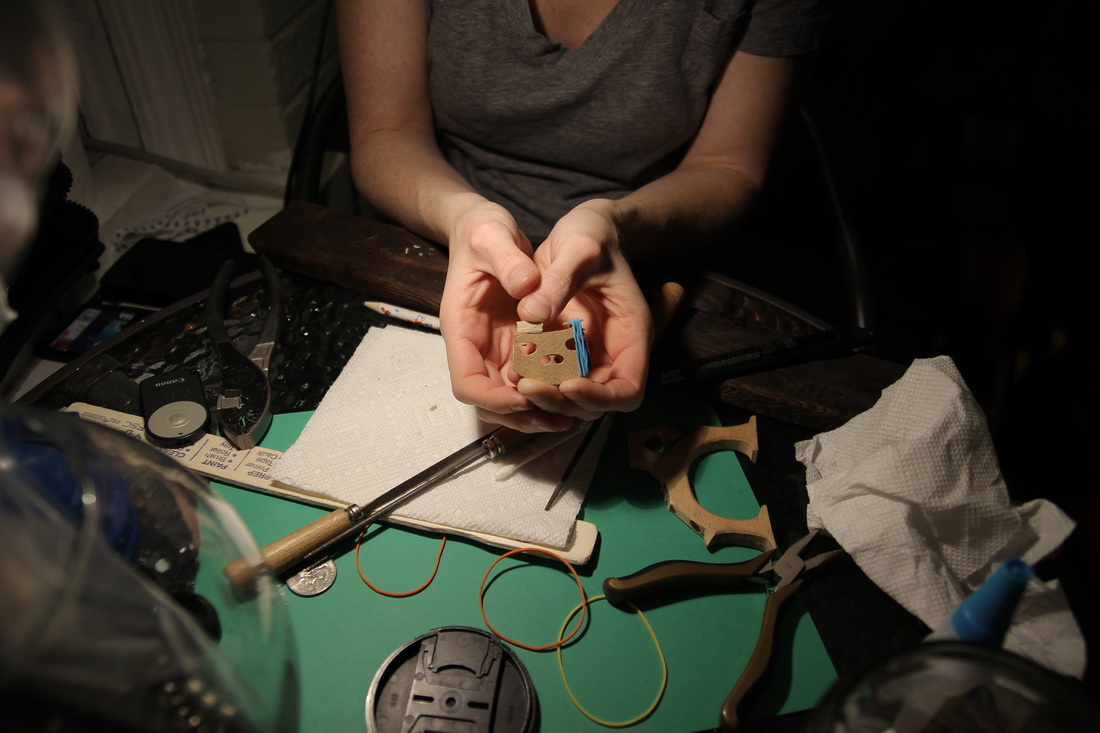
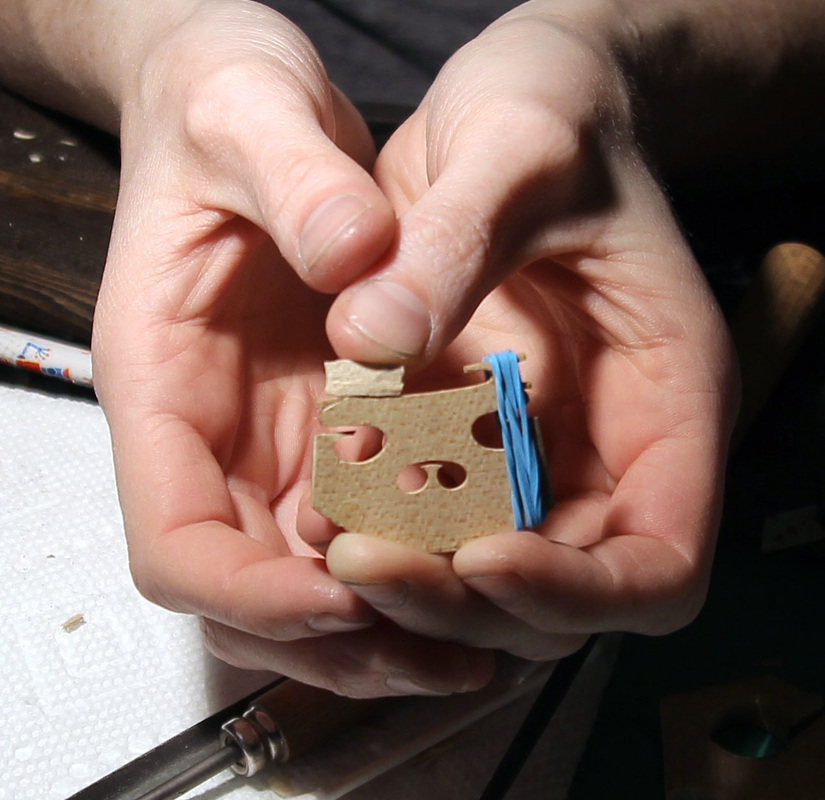
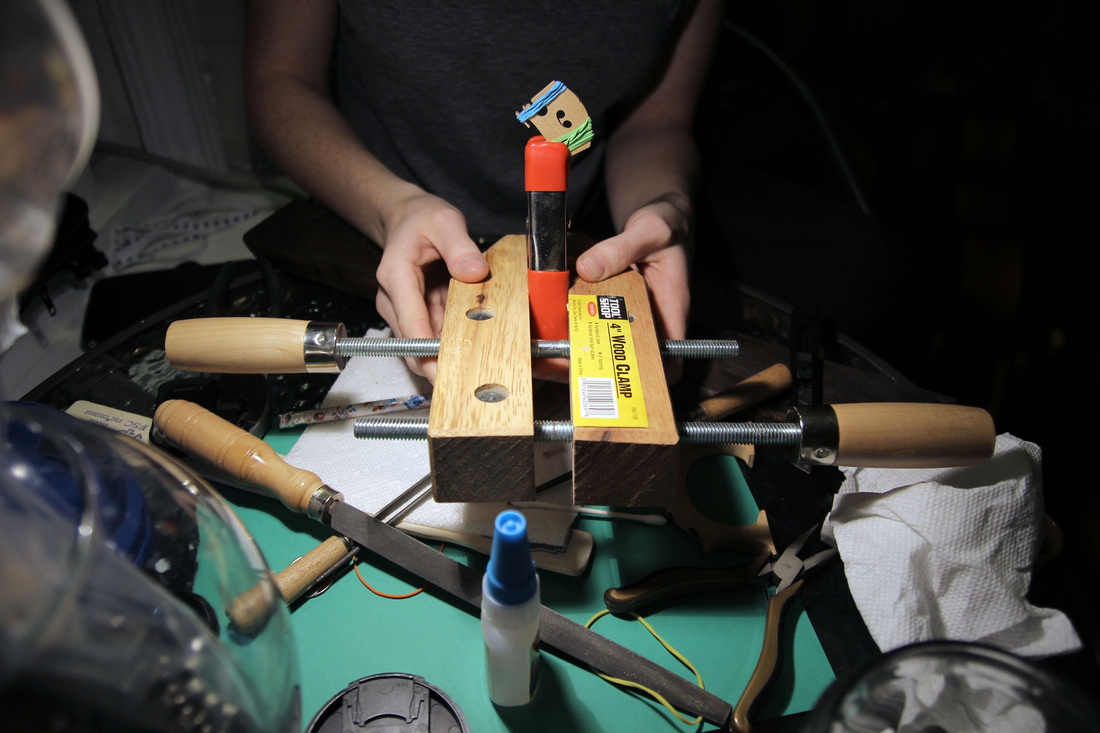
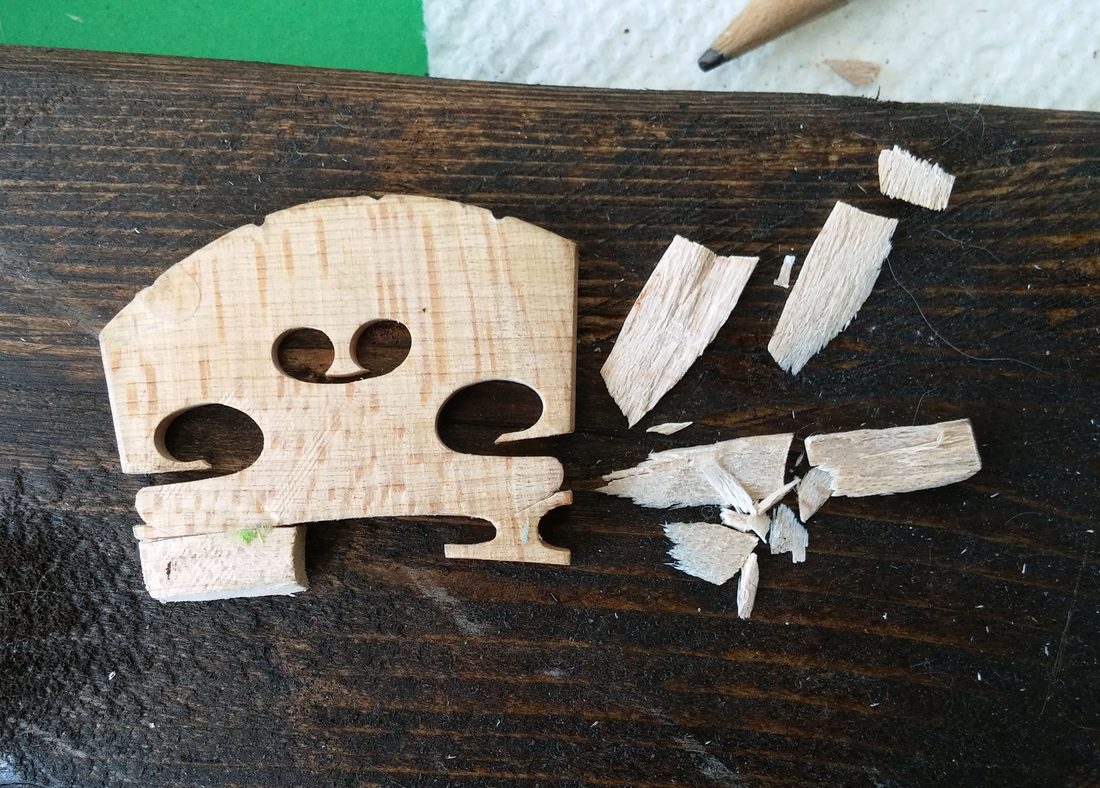
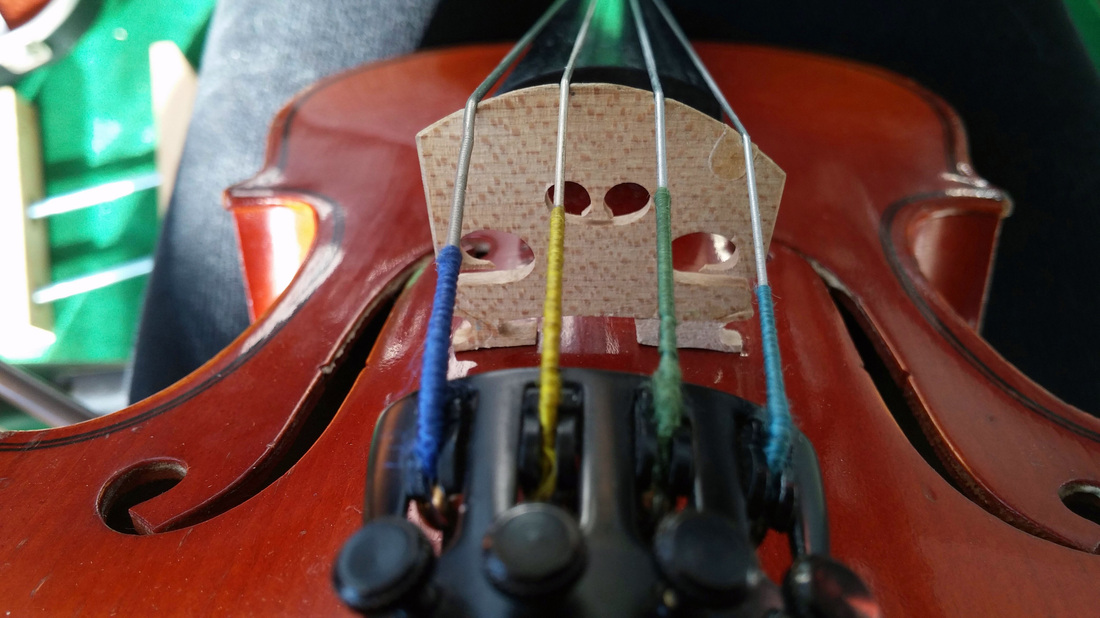
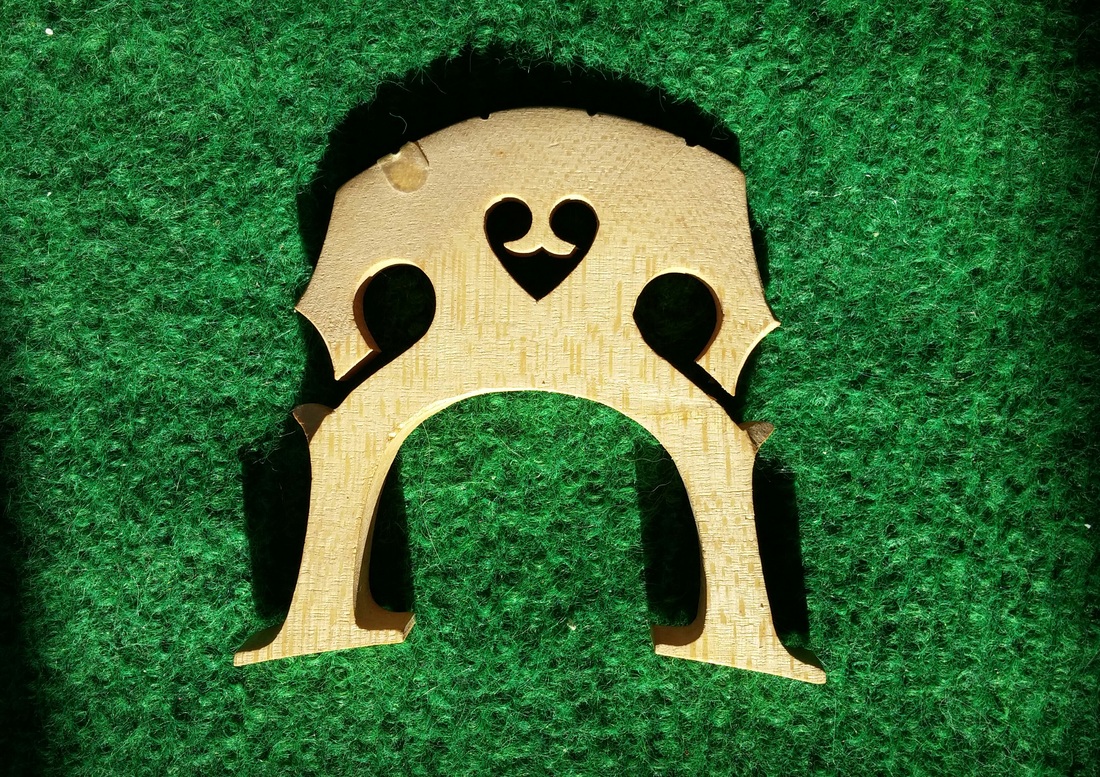
First of all, yes, I know that a quarter size viola doesn't make any sense. We are using violins for many of our viola students for El Sistema. I have all these photos organized in my computer by instrument so I am trying to stay true to what the instrument is being played as so I can keep track of what instruments I have done repairs on. That being said, this was the trickiest repair I've had yet. Not only did this little bridge lose one of its feet, the one still attached was broken and falling off. In order to make this bridge functional I needed to re-glue the broken foot back on and build a whole new foot out of whatever was lying around my house. So, here we go... First things first, make sure the instrument is safe during repairs including keeping tension on it so the sound post doesn't fall (am I clever or what?!) Next step, glue foot. Go teach a thousand lessons while the bridge dries a bit. Come home and dig through all your crap to find some random old broken bridge that came from who-knows-where. Rip a chunk off of said bridge. Just a little chunk... Wing it for awhile while you formulate a plan File some bits off. Voila! Glue it all together. Make a tower of clamps to hold it together/up Wait forever for the glue to dry... The next dayLooked a little rough around the edges but I tried breaking the legs off and they seemed stuck. After filing down the new foot, I was pleasantly surprised how it turned out. The feet aren't 100% flush with the body of the viola but it's close enough. You'd think filing a bridge would be pretty simple but it's really hard to get everything to line up the right way. I'll stick with 'close enough' until I get more practice. The last thing I wanted to do was mess it up now that I had come so far. Sounds pretty good now too! P.S. C-strings on tiny instruments sound soooooo baaaaaaad. lol.
0 Comments
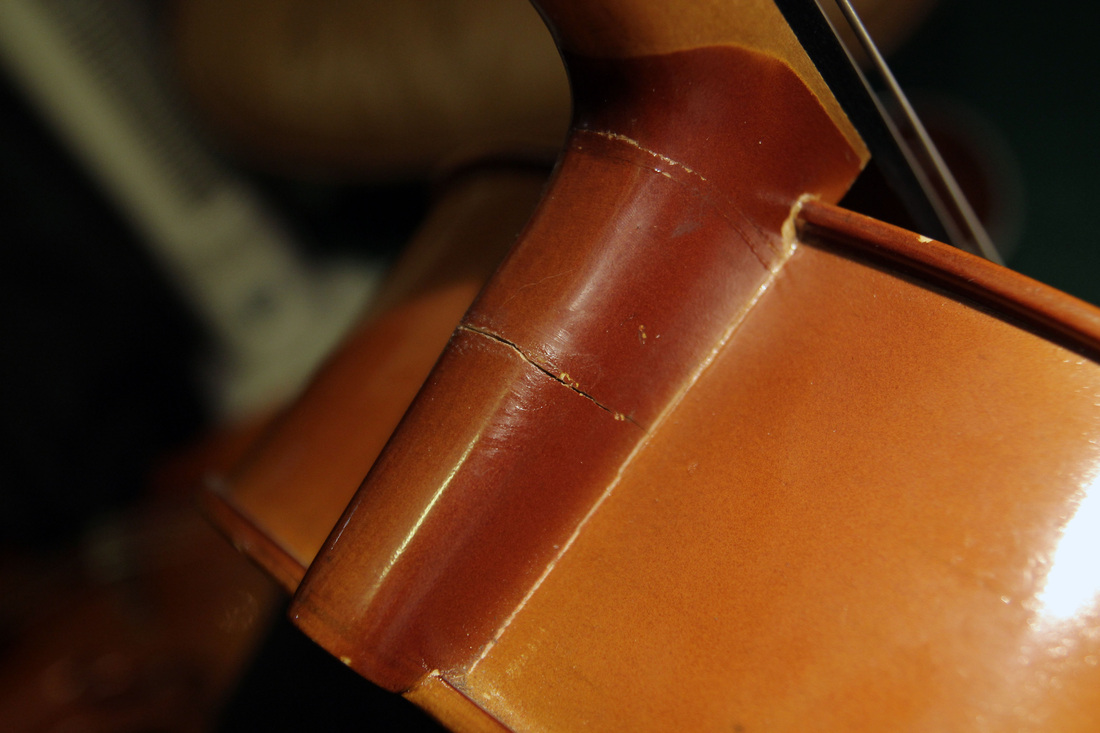
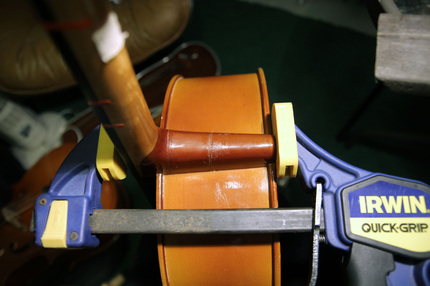
Ahhh. My first returned project. This cello had a cracked neck a few weeks ago. I squirted some glue in the crack as best as I could. It seemed to hold up after several days at my house with full tension on the strings so I figured all was well and shipped it home with a student. To my dismay a week-ish later the crack had opened up again. Here's what I learned: NEEDS MORE GLUE! In order to get more glue in the crack I had to use a slightly less comfortable method that involved essentially over-tightening the strings and then yanking on the neck a lot to open up the wound as much as possible while I squeezed all the glue I could get into the crack from every possible angle. I also used a different clamp this time that seems to be holding a bit better than the wood clamps I had used previously. And of course, as I am writing this I remembered that I totally have syringes from the printer ink refill kit I bought (and can no longer use) that would be PERFECT for injecting glue in small cracks. I suppose if it comes back again I have another game plan to try out. Until then I get to play the waiting game (totally the worst part of this job!).
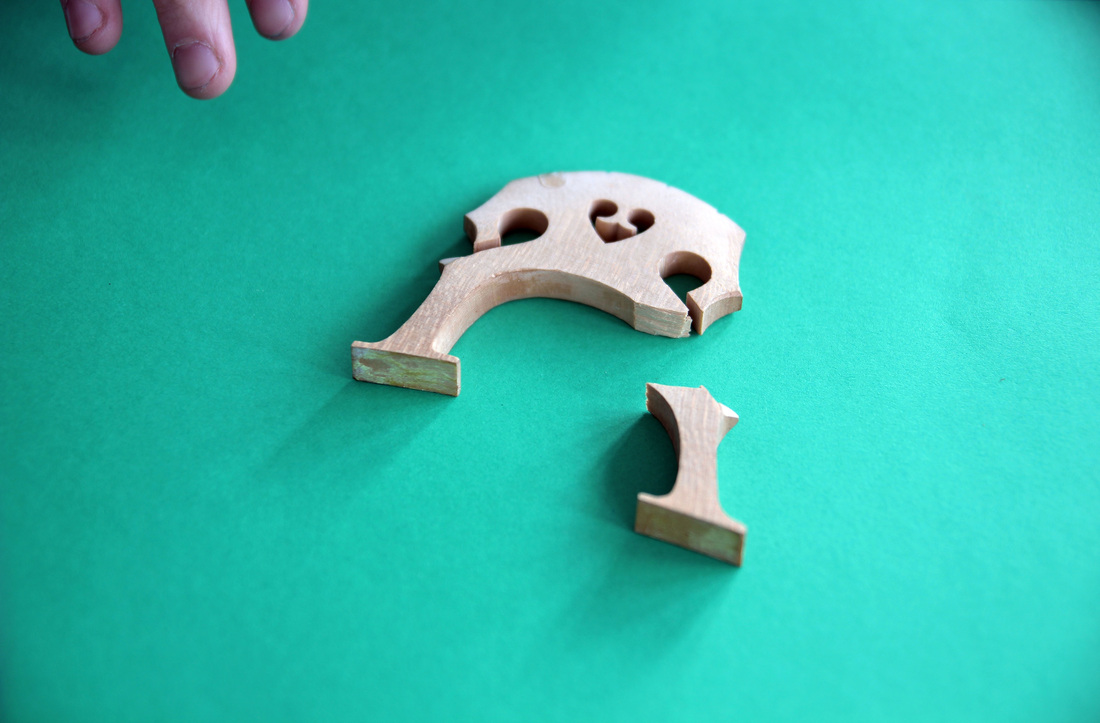
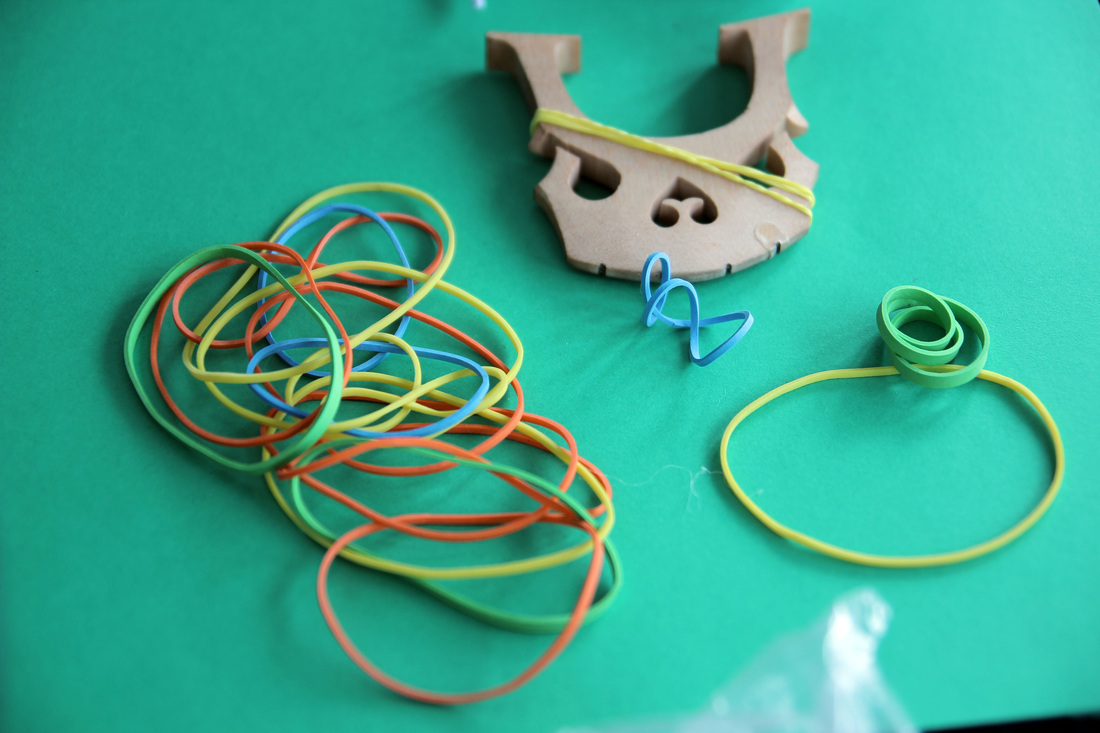
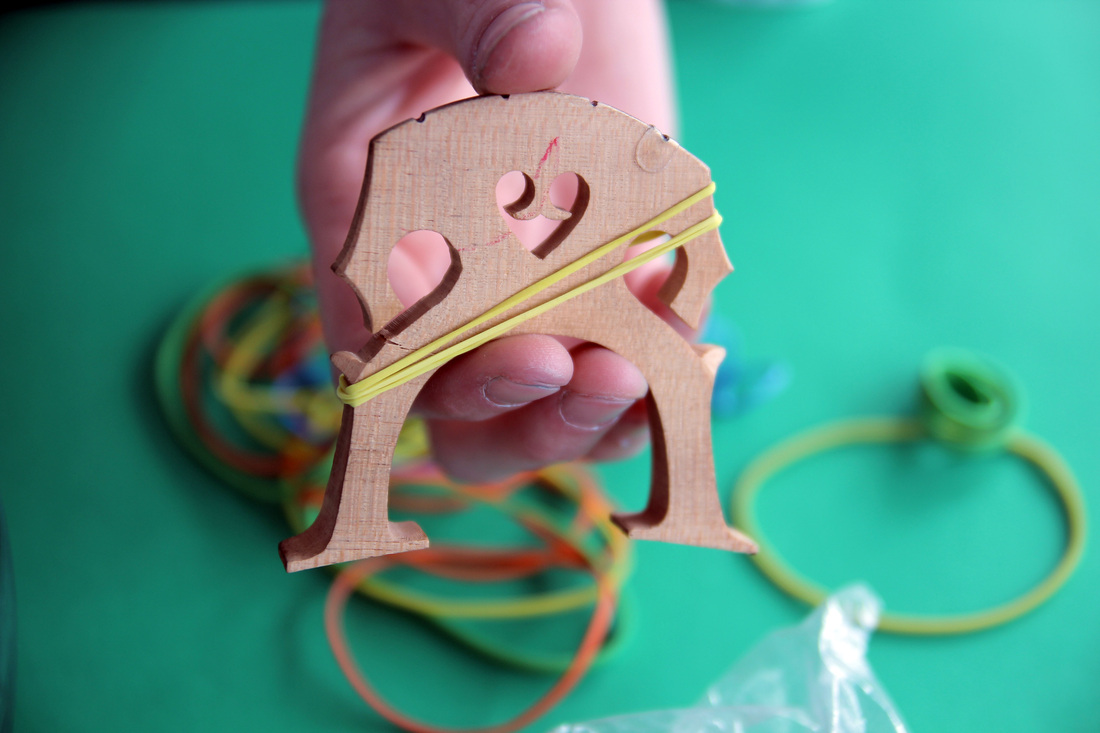
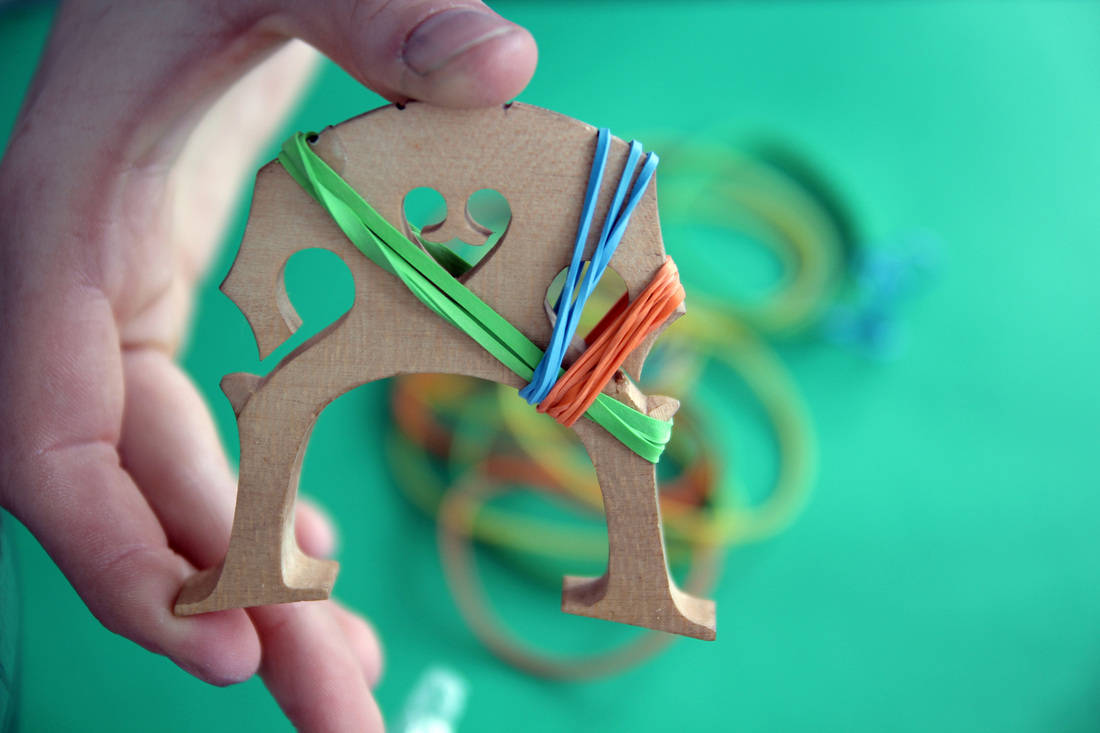
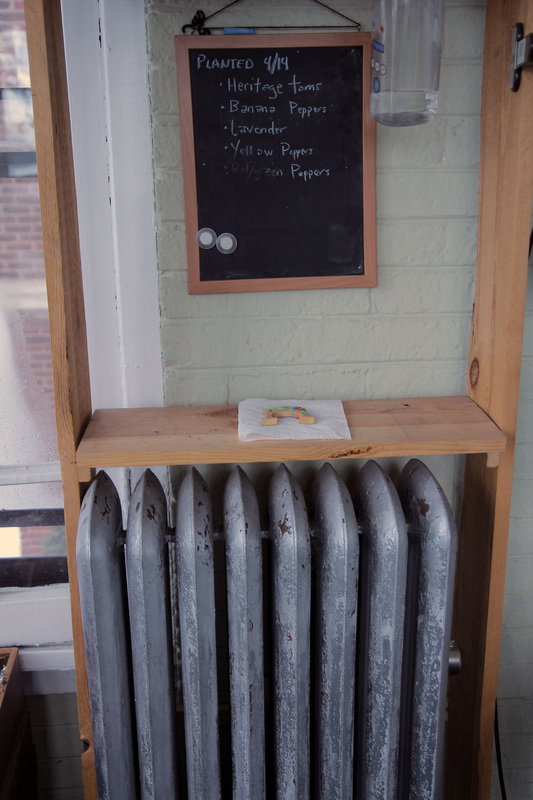
An added bonus to working for the Fox Valley El Sistema is that I get to practice my woodworking skills (or lack of) on instruments that have seen an unfortunate brutal death. Since I literally have ABSOLUTELY NO CLUE what I am doing with regards to instrument repair I thought it would be fun to keep a blog on what I'm repairing. Hopefully a few of these repairs will work well enough that the instruments can be returned to the kiddos and have a few more miles put on them. As a double bonus challenge, virtually all of the repairs I am doing are ones that our local pros said weren't worth repairing. This is awesome for me in case something goes horribly wrong (crossing my fingers [please don't kill me if it does Jonathan and Chris!]) and is equally awesome if I can manage to make them work again. First up! A quarter-sized cello whose bridge leg decided to just break off. Luckily I had an extra little bridge to put in the cello so that I don't have to worry about the soundpost falling over while I try to put this sucker back together. My first thought was, "how the heck do you hold this thing together once the glue is on?" Answer: RUBBER BANDS! I tested out the rubber bands a bunch before deciding on a good configuration that I hoped would keep everything in place. The picture above is the bridge after I glued it. Below the bridge is drying on a heating rack I made last year to start seedlings in the house for our community garden. I am hoping a little heat will help set the glue a bit faster. I'll be putting the bridge back in the cello tomorrow afternoon and if everything holds up, returning it to the student tomorrow evening! Stay tuned to see if I botched project #1 or if my first success will fuel me to fix all the sad broken things things! 24 hours laterSuccess! |
AuthorCellist, violinist, string teacher, adventure seeker. ArchivesCategories |
 RSS Feed
